Setting up the Publication
The Web2Publish targets your End-Users. As a consultant or developer your starting point should be the priint:admin or the priint:planner.
Creating your Web2Publish Publication Type
The Web2Publish needs a certain Publication Metadata to work. We can setup the Metadata needed in the Admin application of the priint:suite. Navigate to the Admin > Metadata
While the naming is optional, we recommend following a structure and grouping that allows you to easily recognize which Metadata is needed for the Web2Publish.
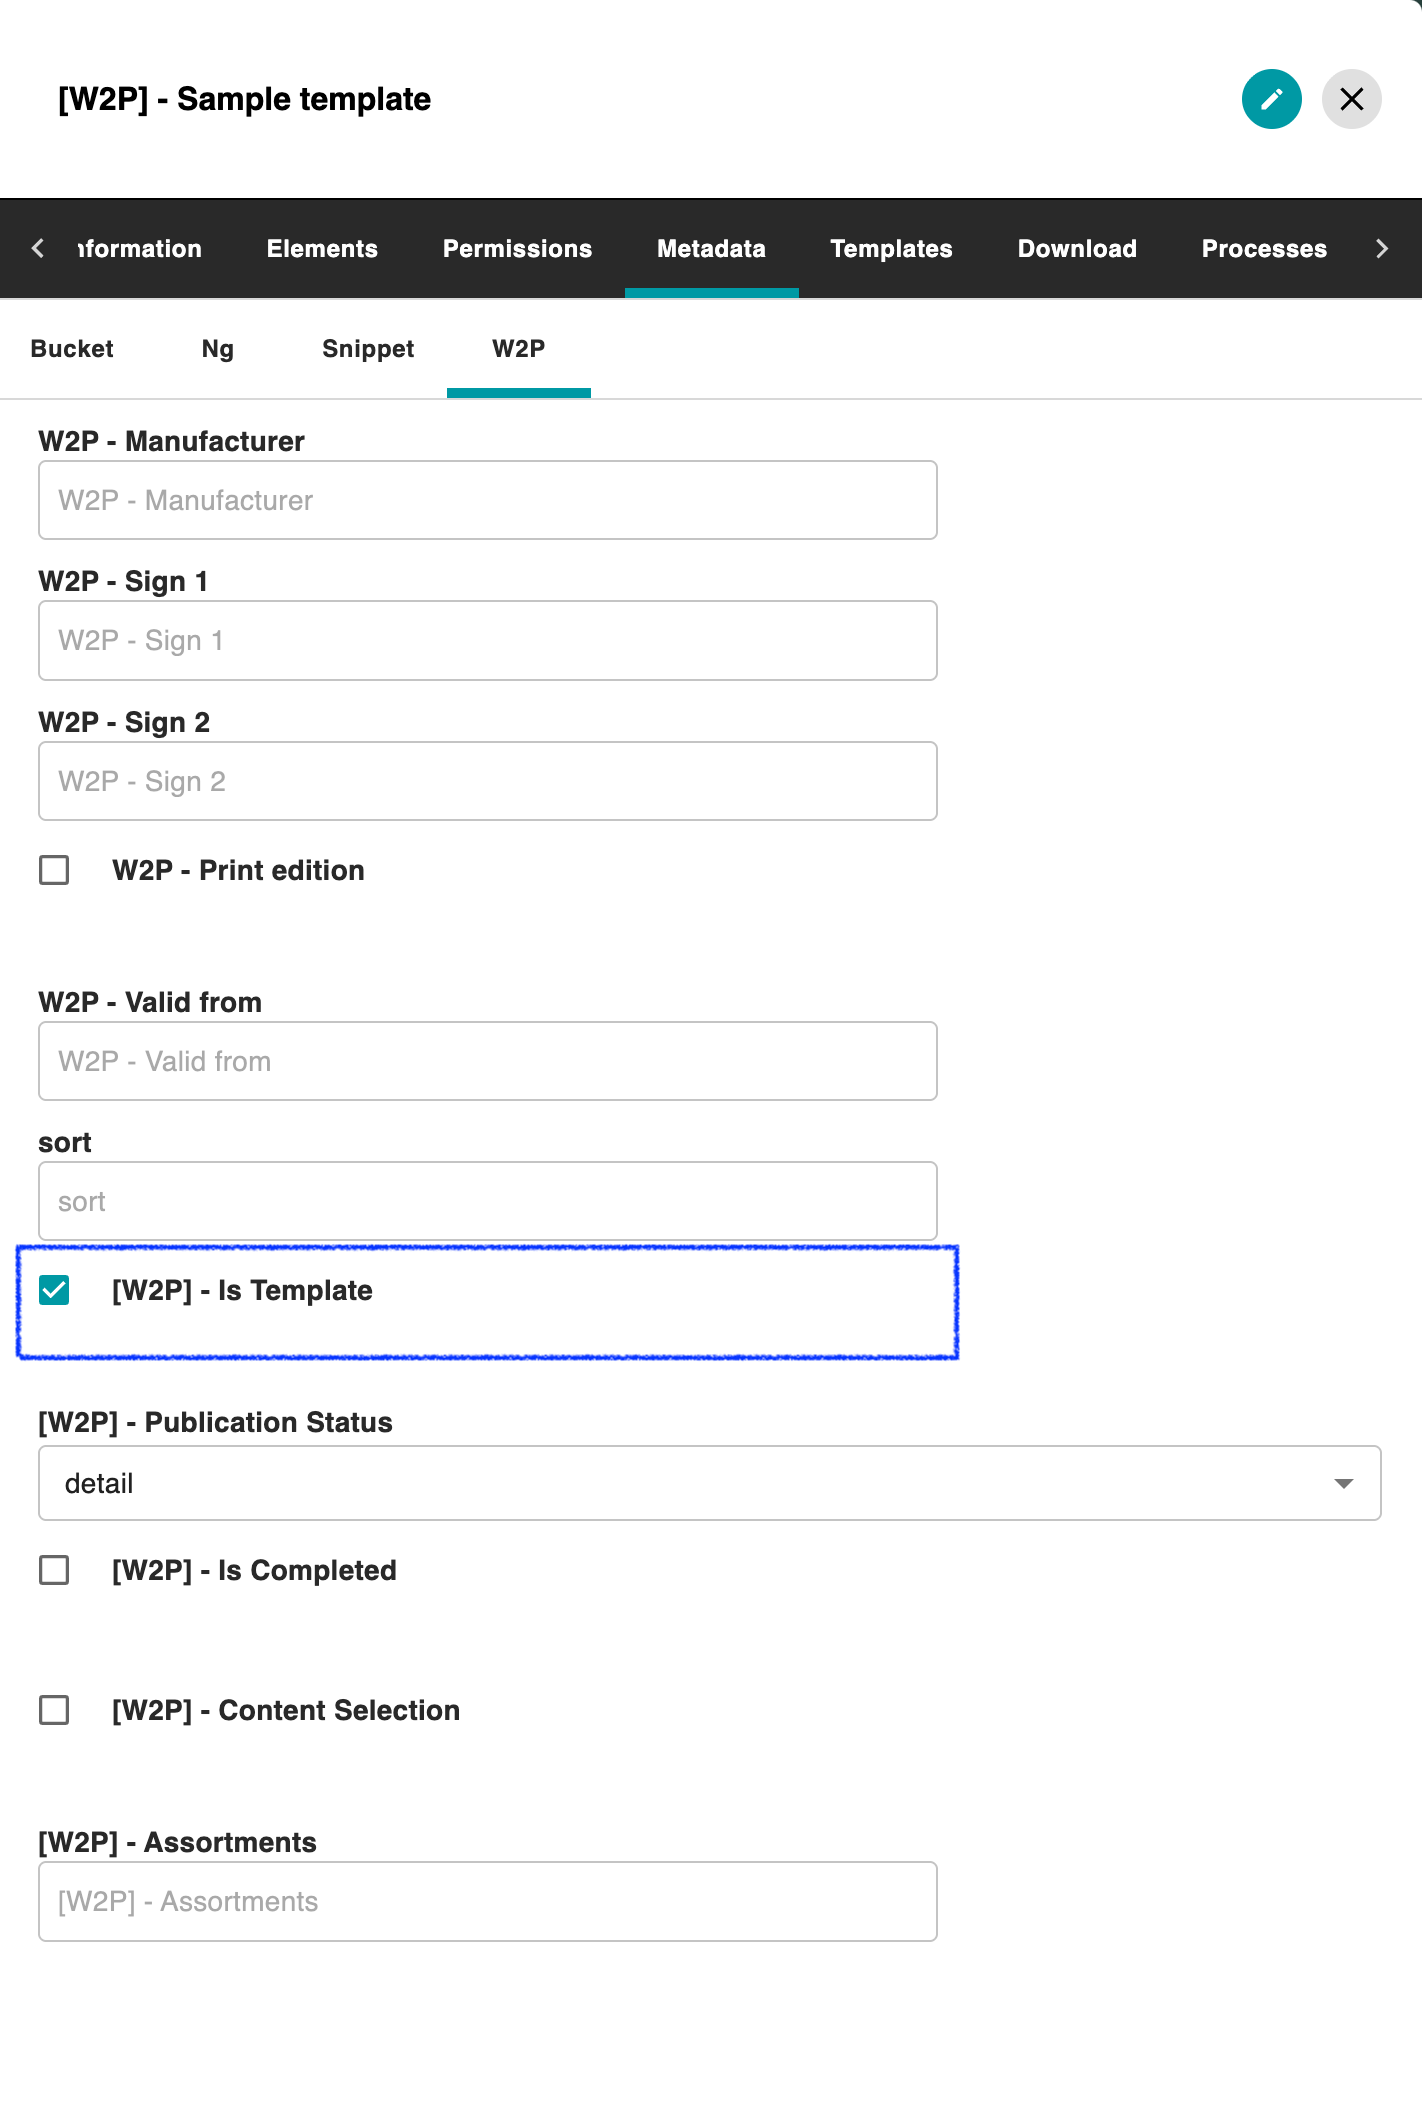
<isTemplateMetadata>: Checkbox Metadata identifier for determining if the Publication is a Template. This element is required.<isCompletedMetadata>: Checkbox Metadata identifier for determining if the publication is completed or not. This element is required.
The status Metadata (<statusMetadata>) is a Combobox. Create one option per step status, plus the option you set as the completed status.
Note: Depending on your project more Metadata is needed. Find out more information about more Metadata here.
Creating your Template Publication in the priint:planner
The basis of all Web2Publish processing starts with the template publication, follow the steps to get started.
Upload Document Template
Regardless of your Rendering Service choice, the priint:planner always requires us to start with a document template. We have to upload a document template in the priint:planner > Document Templates
Create your Publication
Create a new publication with the Publication Type you created earlier in the priint:admin. Folders are also supported but should have the same Publication Type.
Set the default parameters at the Root Publication. Ensure that the presets that you need for your project are set correctly. The flag configured in your metadata for <isTemplateMetadata> needs to be set to true.
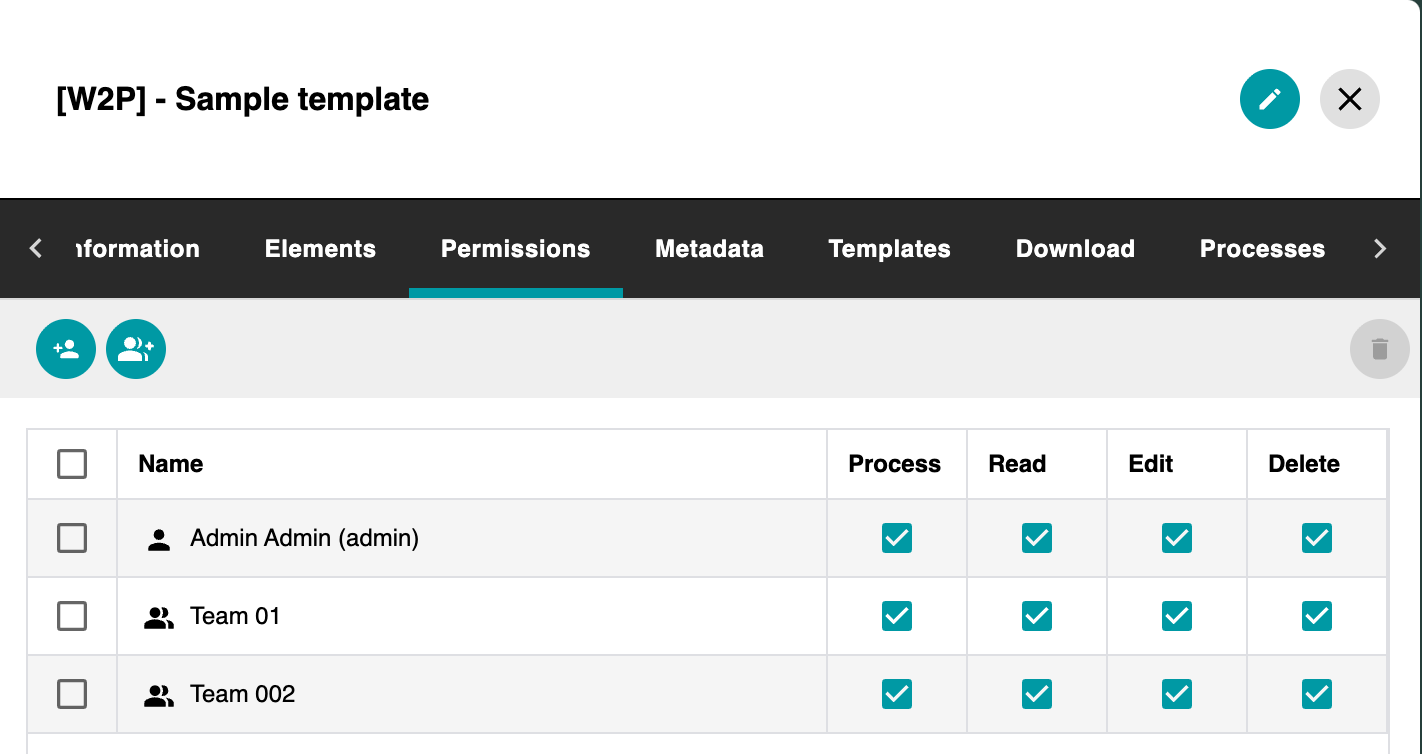
Assign Users or Teams to your Publication to control who can see and use your template publications to create their own variants.
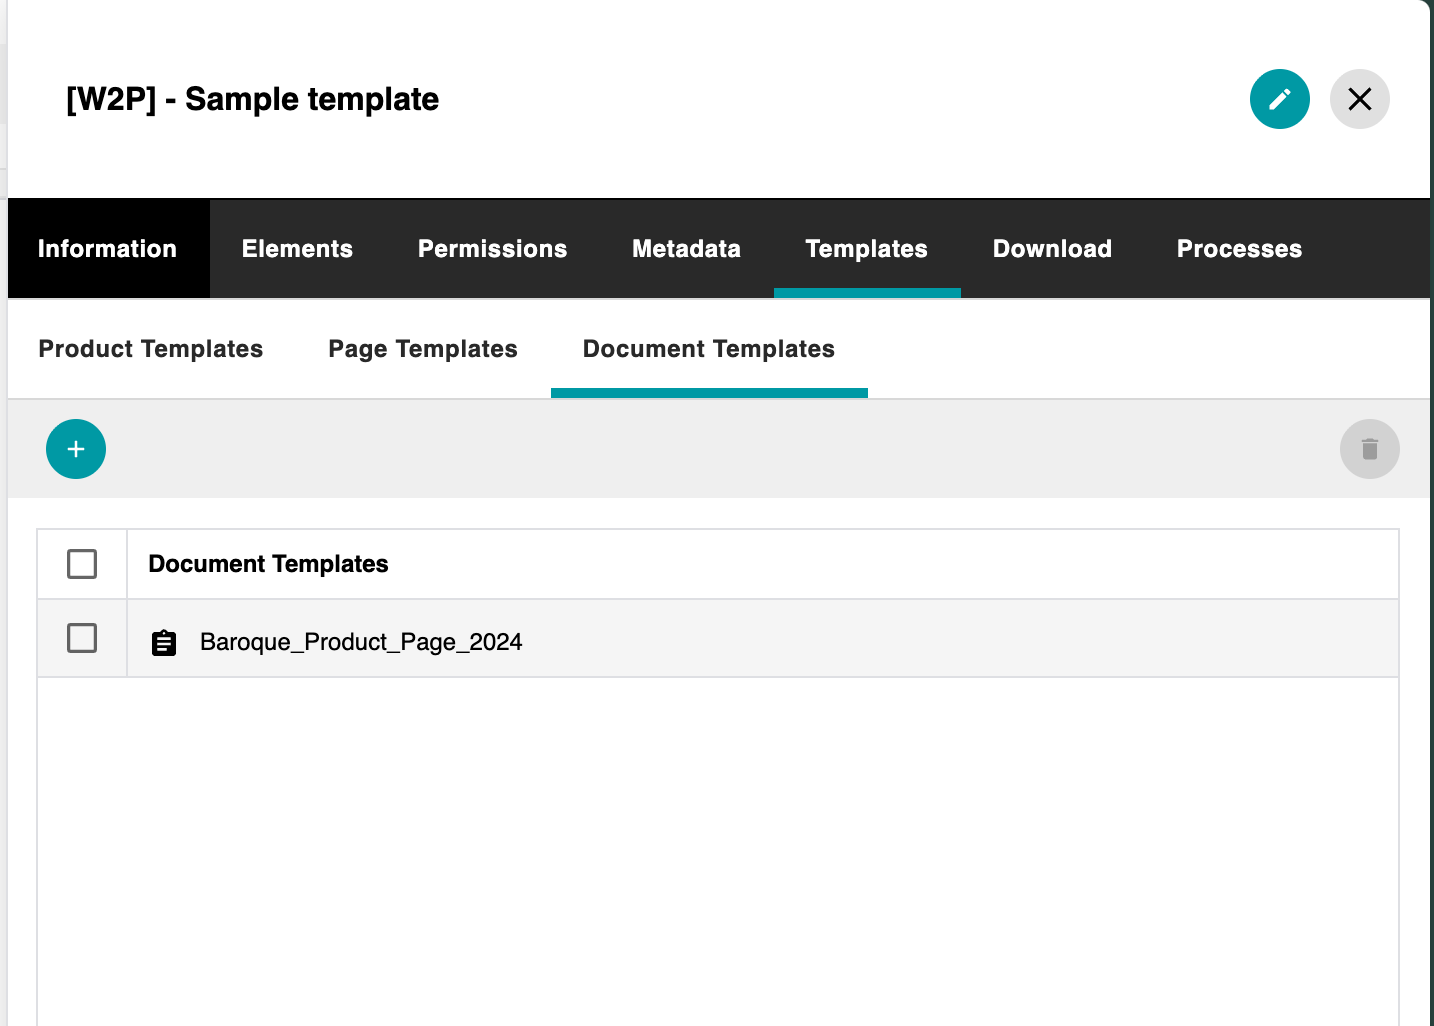
Document Templates are needed to create documents, so ensure that you select the previously uploaded document template or an existing document template.
Assign additional Templates if needed. Templates assigned at the Publication or even document can be useful for dynamically evaluating and assigning it based on rules implemented in your project-specific scripts.
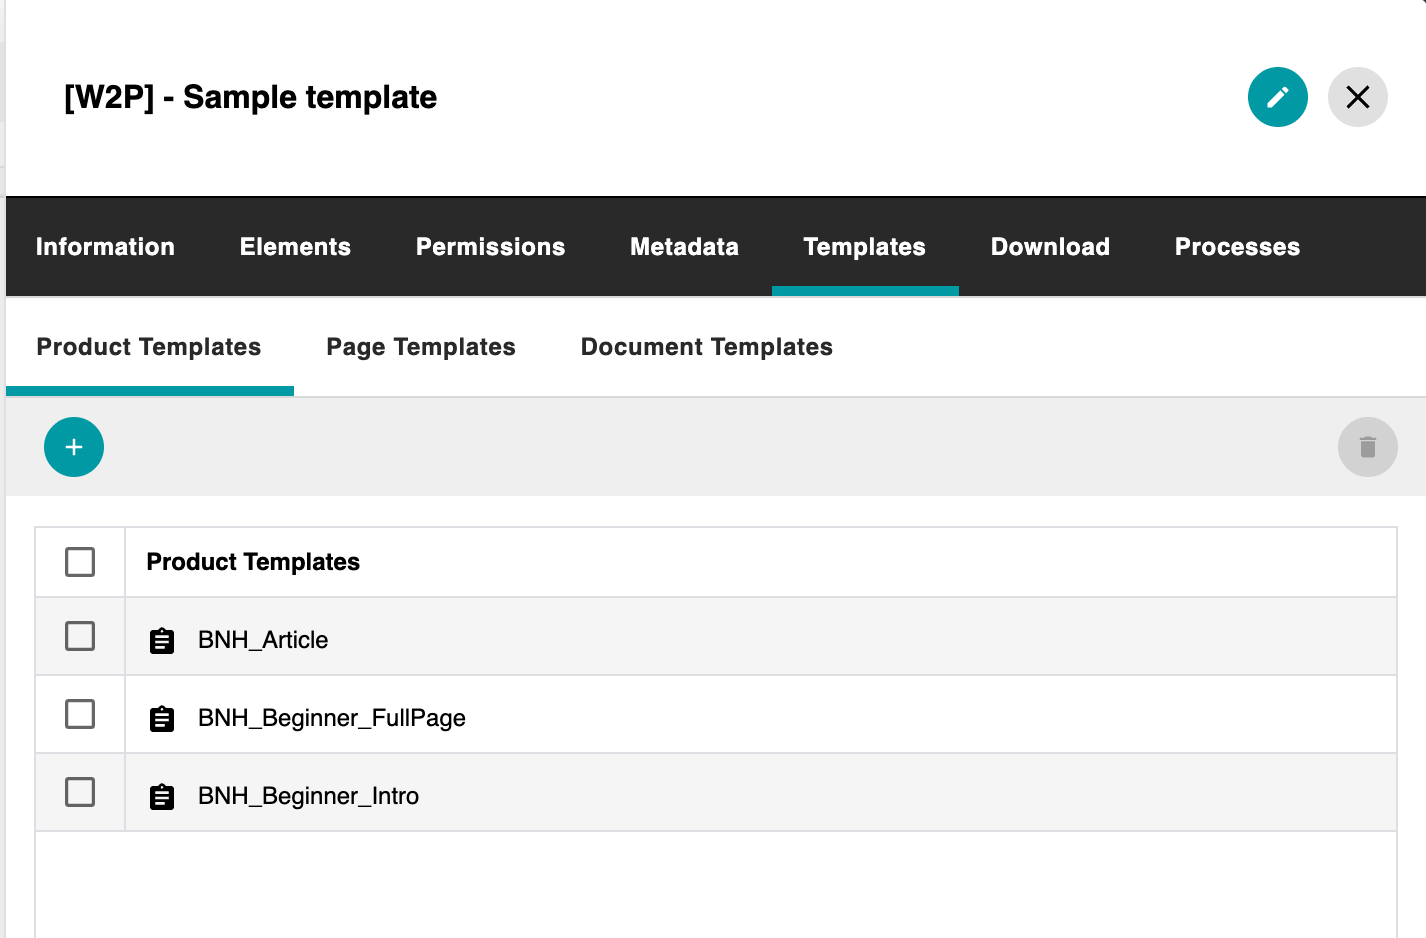
If you plan to let the user choose templates using the Planning Tree Step the list of templates will only be populated if you limit the list of templates available for selection at the publication. Additional configuration might be needed so check the reference section for in-depth configuration guidance.
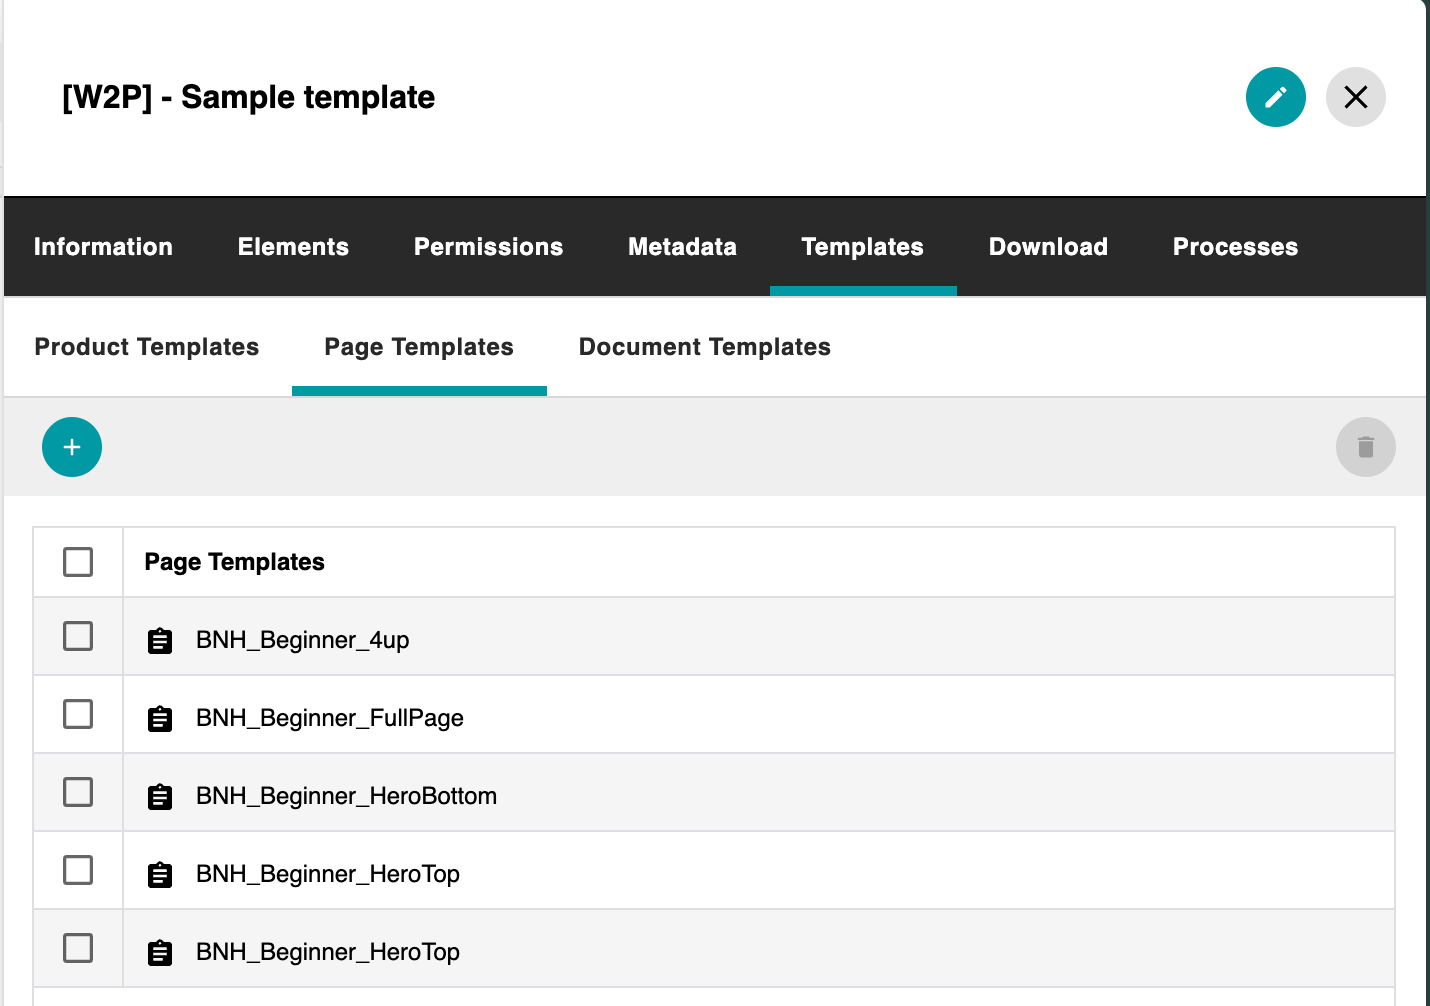
Note that assignment of page templates requires additional Metadata (priint_pageTemplate).
Create Template Documents
Follow the regular creation process of documents, check the documentation of the priint:planner if you need more information.
Check the Document Filter to configure a filter that will evaluate the document metadata to hide or show certain documents from the target wizard steps.
(Optional) Upload Editorial Documents
In some cases you want to enhance your publication by adding editorial content, for example for the cover pages, intro sections. For this the priint:planner allows you to upload Adobe InDesign files directly into your publication.
You can use this content as is, or make the content Dynamic, by allowing the Rendering Service to adjust elements inside. For this the Type of the document needs to be changed and a planning needs to be created.
Planning and Planning metadata need to exist for the Customize Documents step to make adjustments to your editorial content.
Check Customize Documents for more information.
Adjust your configuration
After the template publication including the documents are created, continue by adjusting your Configuration to match the values you just created.